Restoring old brick walls involves cleaning the surface, removing deteriorated mortar, repointing with matched mortar, and replacing damaged bricks. While minor surface cleaning can be handled by a homeowner, structural and mortar work should always be done by a qualified masonry professional to avoid causing further damage.
Your Brick Walls Have a Story. Are They Still Telling It Correctly?
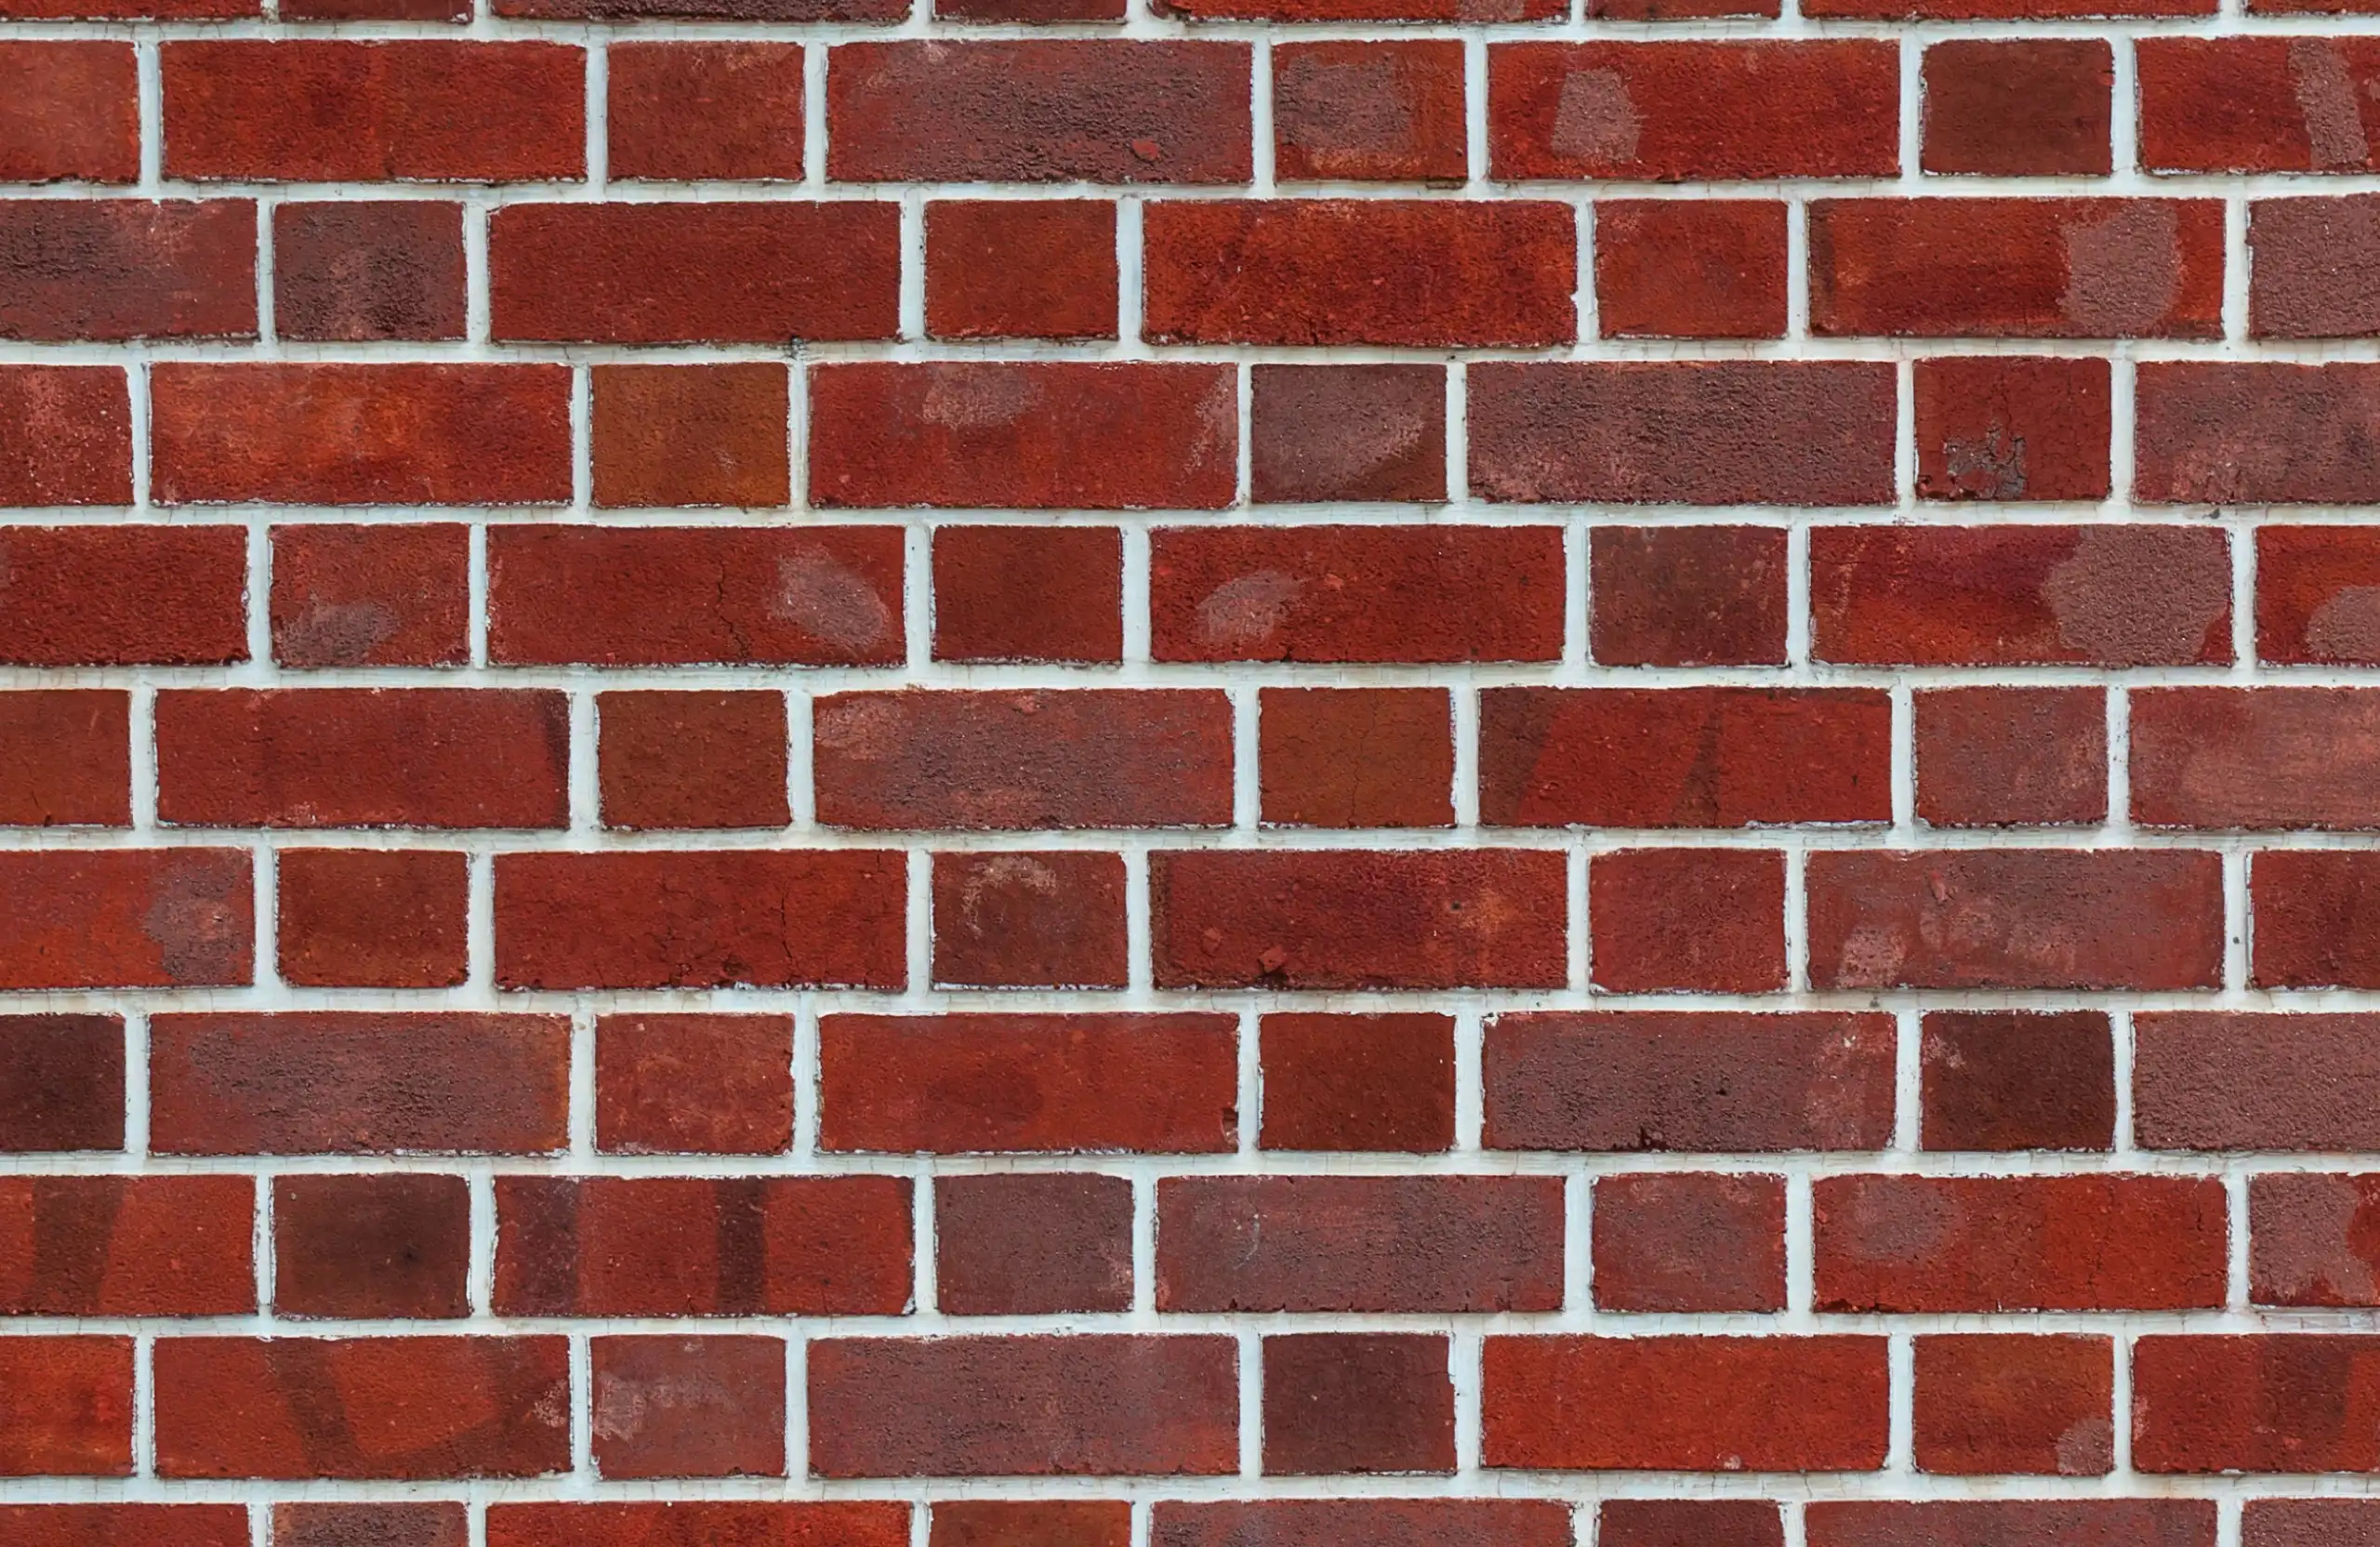
Old brick walls carry a character that newer construction rarely replicates. The texture, colour, and craftsmanship of century-old masonry can define the entire look of a home or commercial building. But age, moisture, and Ontario winters take a toll. Mortar cracks. Bricks spall. Facades that once looked sharp begin to look tired and structurally questionable.
The good news is that most old brick walls can be successfully restored when the right process is followed. This guide walks you through how to restore old brick walls from assessment through to completion, including when to hand the project to a professional.
Step 1: Assess the Condition of Your Brick Wall
Before any work begins, the brick wall needs a thorough assessment.
Look for:
- Crumbling or recessed mortar joints
- Spalling brick faces (flaking or crumbling brick surface)
- Efflorescence (white mineral deposits on the wall surface)
- Cracks running through bricks or along mortar joints
- Moisture stains or damp patches on interior walls
The Canadian Mortgage and Housing Corporation recommends property owners inspect masonry annually, especially after winter, to catch early deterioration before it becomes structural.
Step 2: Clean the Brick Surface
Effective restoration begins with a clean surface. The right cleaning method depends on what you are dealing with:
- General dirt and grime: A stiff natural-bristle brush and water works well on most bricks. Avoid wire brushes, which can scratch brick faces.
- Efflorescence: A diluted masonry cleaner or white vinegar solution can dissolve mineral deposits. Dry brushing first helps lift loose deposits.
- Mold or mildew: A solution of water and oxygen bleach (not chlorine bleach) is effective. Allow to sit, then rinse thoroughly.
- Heavy staining or paint: Chemical strippers formulated for masonry can be used, but always test on a small section first. Pressure washing may also be appropriate but requires care to avoid damaging soft brick or mortar.
Avoid acid washing on older or heritage brick unless recommended by a masonry professional. Acid can permanently damage brick that has absorbed it.
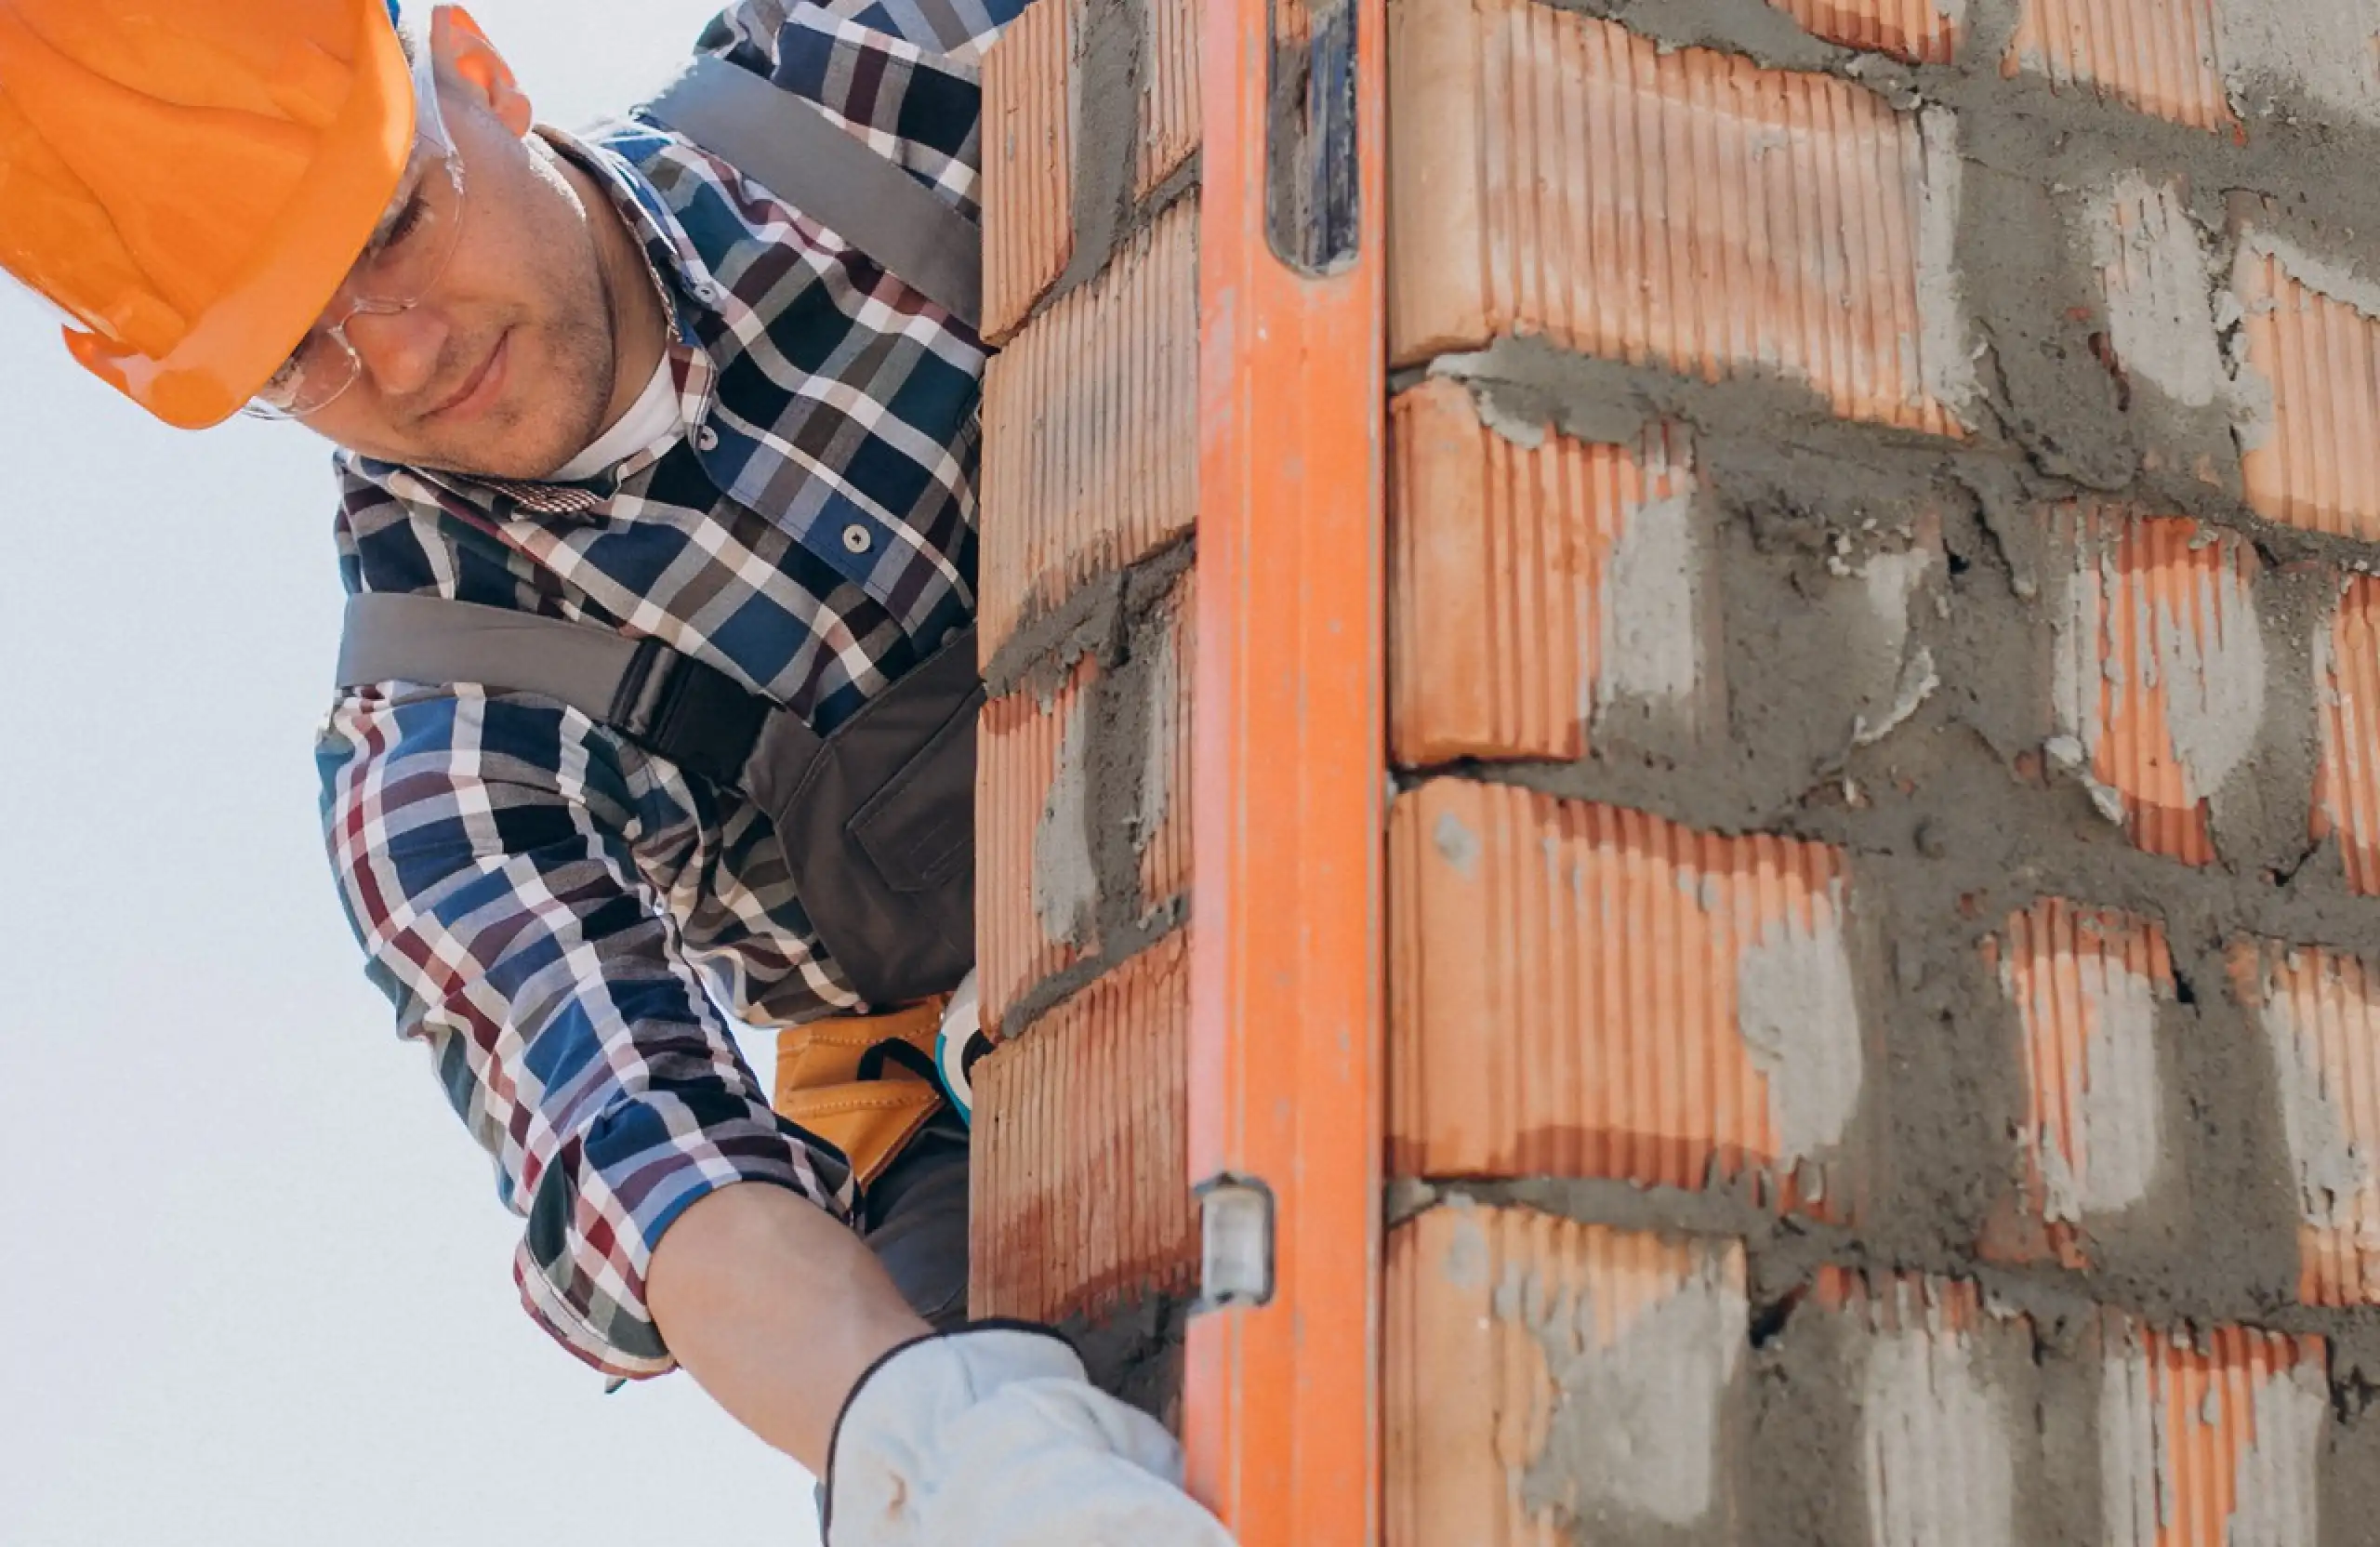
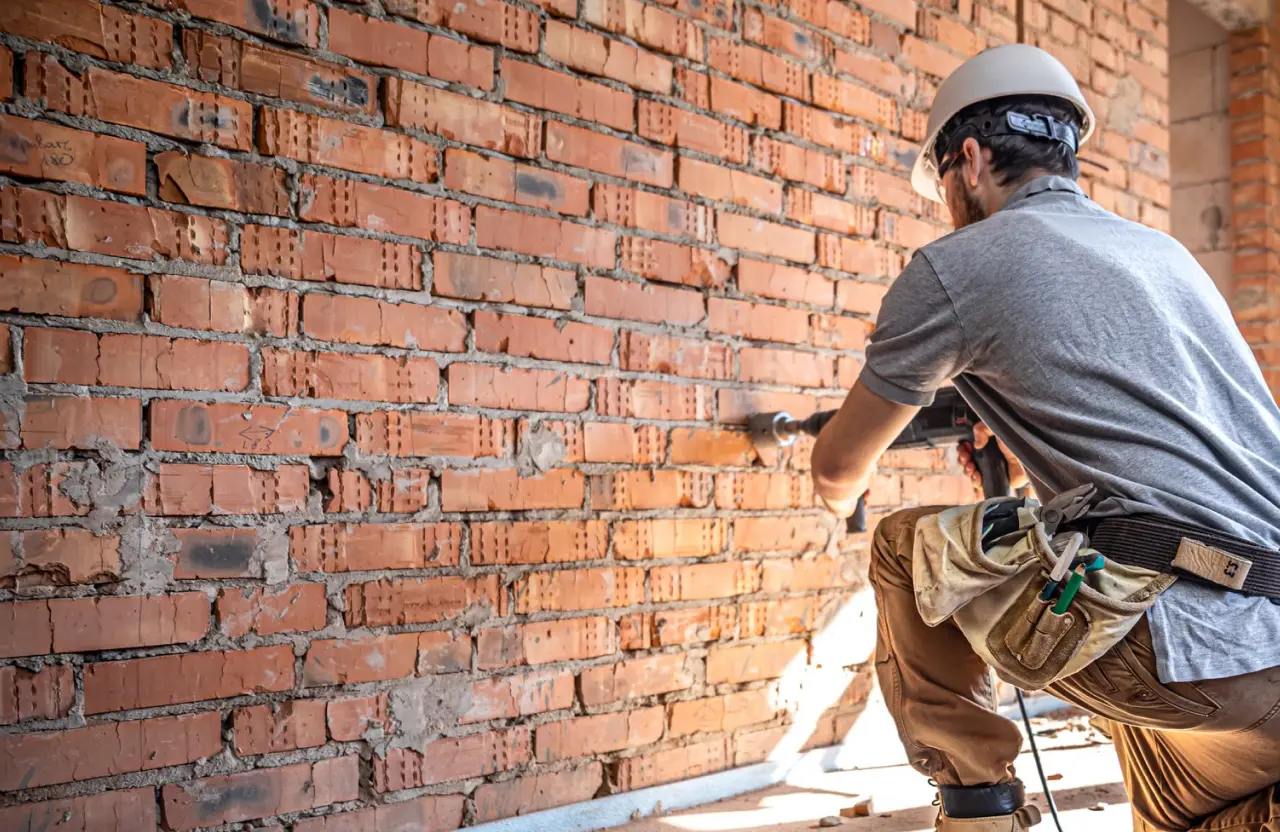
Step 3: Remove Deteriorated Mortar
This is the step where professional skill matters most. Removing old mortar incorrectly can damage the surrounding bricks, especially on older masonry where the brick is softer than modern equivalents.
The standard approach involves:
- Using a cold chisel and hammer or an oscillating tool to carefully cut out the damaged mortar
- Removing mortar to a depth of at least 15mm to allow the new mortar a proper key
- Clearing the joint of dust and debris before applying new mortar
Our masonry team in Stratford and Kitchener uses professional-grade tools to remove old mortar cleanly without fracturing adjacent bricks, a common problem when this step is rushed.
Step 4: Match and Apply New Mortar
Mortar matching is one of the most important and often overlooked aspects of brick restoration. Using the wrong mortar type on an older wall can actually cause more damage than doing nothing.
Older masonry was typically built with softer lime-based mortars. These are more flexible and allow the wall to move slightly with temperature changes. Replacing them with modern Portland cement mortar, which is harder and less flexible, can cause the surrounding brick to crack over time as the wall moves.
A qualified mason will:
- Identify the existing mortar composition through visual inspection or laboratory analysis for heritage properties
- Mix a mortar that matches in strength, texture, and colour
- Apply it in layers if needed, tooling the joint to match the surrounding profile
According to the Preservation Briefs from the National Park Service, correct mortar composition in historic buildings is critical to preventing accelerated deterioration.
Step 5: Replace Damaged Bricks
Where bricks are beyond repair through cleaning or mortar work alone, individual brick replacement is required.
This involves:
- Carefully removing the damaged brick without disturbing the surrounding masonry
- Sourcing a replacement brick that closely matches the original in size, colour, and texture
- Setting the new brick with properly matched mortar and tooling to blend seamlessly
For heritage or older properties, sourcing reclaimed brick that matches the original is often necessary. Stone Haven’s stone restoration and reclamation services cover this type of work across the region.
Step 6: Seal or Leave to Breathe
Not all brick walls need to be sealed after restoration. In fact, applying the wrong sealant to older brick can trap moisture inside the wall, worsening the very problem you are trying to solve.
For modern brick, a breathable masonry sealant may be appropriate in high-exposure environments. For older or heritage brick, consult a masonry professional before applying any protective coating.
When to Stop DIY and Call a Professional
Some restoration tasks are accessible to a careful homeowner. Cleaning the surface, brushing away loose debris, and applying a breathable sealant are within reach.
However, the following always warrant professional attention:
- Any repointing or mortar work on a heritage or pre-1950s property
- Cracks that run diagonally through mortar joints, which can indicate foundation movement
- Work on chimneys or walls above the ground floor
- Extensive spalling across large sections of a wall
- Any situation requiring scaffolding or equipment access. Our general contracting team can assess the full scope and handle it safely.
How Stone Haven Development Handles Brick Wall Restoration
Stone Haven Development brings 17 years of masonry experience to every restoration project across Southwestern Ontario. Whether the work involves a single wall on a residential property or a multi-storey commercial facade, our process is the same: assess thoroughly, plan carefully, and execute with quality materials and skilled labour.
We serve property owners and general contractors across Stratford, Kitchener, Waterloo, Guelph, Hamilton, London, and surrounding communities.
View completed restoration projects in our project gallery or contact us directly for an on-site assessment.
Frequently Asked Questions
1. Can I repoint my own brick wall?
On a small, ground-level section of modern brick, a careful homeowner can attempt minor repointing. However, proper mortar matching and application technique require skill. On older or heritage properties, incorrect work can accelerate damage. A professional assessment first is always the safer path.
2. How do I know what kind of mortar to use?
The mortar composition should match the original as closely as possible. Older brick walls typically used softer lime-based mortars. Using modern Portland cement in these walls can cause cracking over time. A masonry professional can help identify the right mix.
3. What causes old brick walls to deteriorate?
Moisture penetration is the primary cause. When water enters through failed mortar joints and freezes in Ontario winters, it expands and forces mortar and brick faces apart. Other causes include vegetation growth, poor drainage near the foundation, and age-related wear.
4. How long does brick wall restoration last?
Quality restoration work on a residential property should last 20 to 30 years or more. The longevity depends on the mortar quality, the skill of the tradesperson, and how well moisture is managed around the structure going forward.
5. Is it worth restoring old brick or replacing it?
In most cases, restoration is far more cost-effective than full replacement and preserves the original character of the building. Full replacement is only recommended when structural damage is severe or the brick itself has reached the end of its serviceable life.
Start the Restoration the Right Way
Old brick walls are worth preserving. With the right approach and the right team, they can stand strong for another generation. Reach out to Stone Haven Development to schedule a professional masonry assessment for your property.
Key Takeaway
- Property owners should conduct annual inspections after winter to identify early warning signs of damage like crumbling mortar, flaking brick surfaces, or white mineral deposits.
- Cleaning old brick requires gentle methods such as natural-bristle brushes and oxygen bleach to avoid the permanent surface damage often caused by wire brushes or harsh acids.
- Removing old mortar is a precision task that requires specialized tools to ensure joints are cleared to a specific depth without fracturing the surrounding soft heritage bricks.
- Using modern Portland cement on pre-1950s structures is a common mistake that leads to cracking, as these older walls require flexible, lime-based mortars to handle temperature shifts.
- While homeowners can manage basic surface cleaning, structural repairs and repointing on historical properties should be left to professionals to ensure the wall remains breathable and stable.