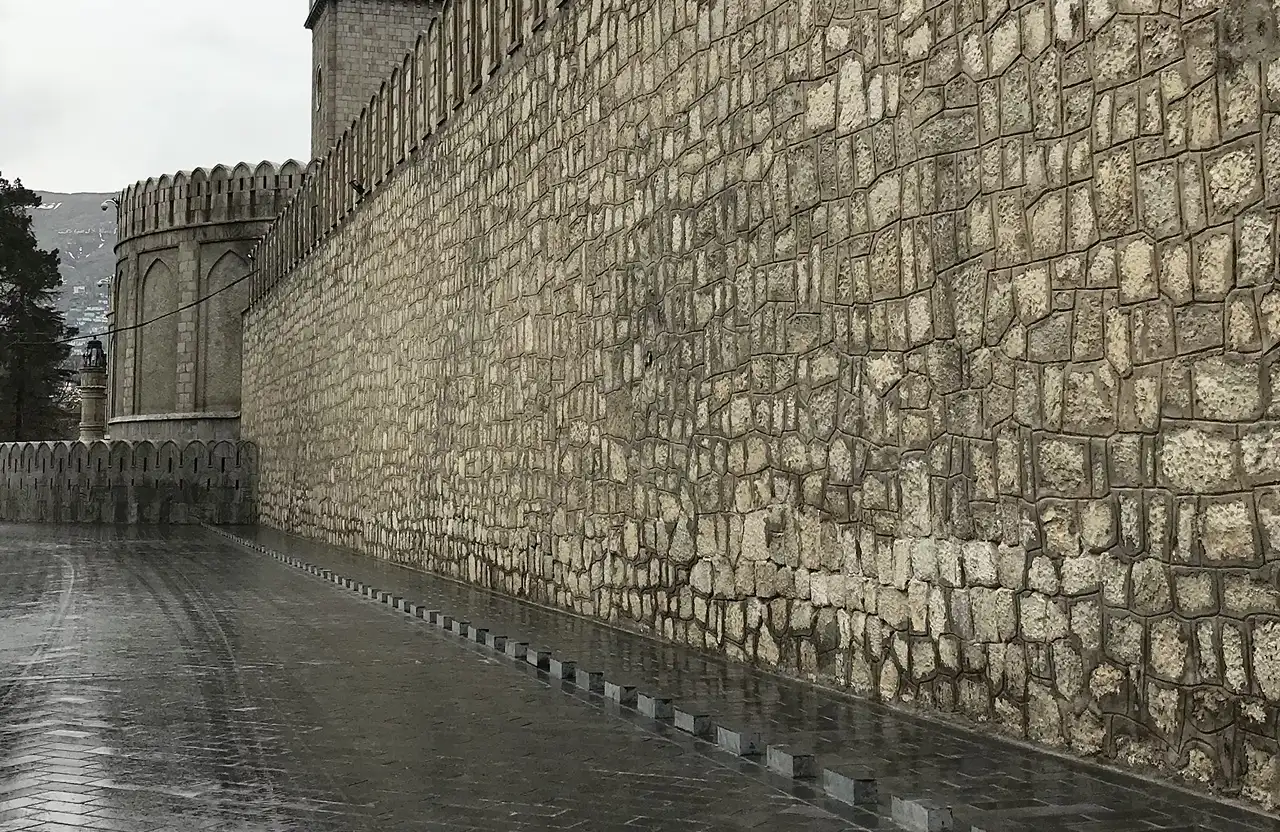
Fixing cracked mortar joints involves removing deteriorated mortar to the correct depth, matching the replacement mortar to the original composition, and applying it in layers with proper tooling. On older or heritage properties, mortar compatibility is critical. Professional repointing is recommended for any structural cracks, chimney work, or walls showing significant water damage.
Those Cracks in Your Mortar Are Not Just Cosmetic
You spot a crack running along a mortar joint on the side of your home. Maybe a few more near the window sills. The bricks themselves look fine. It is just the mortar, right? How bad can it be? In most cases, cracked mortar joints are more consequential than they appear. They create a direct pathway for water into the wall assembly. In an Ontario winter, that water freezes, expands, and forces the crack wider. By spring, what started as a hairline crack has become a gap wide enough to let in sustained moisture and begin degrading the surrounding brick. This guide walks through how to fix cracked mortar joints, what you need to do properly, and when the work goes beyond a DIY scope.
What Causes Cracked Mortar Joints?
Mortar joints crack for several reasons.
Understanding the cause helps determine whether the repair is straightforward or requires deeper investigation:
- Age and natural weathering: Standard mortar has a serviceable lifespan of 25 to 30 years under normal conditions. Cracks in older mortar are expected and respond well to routine repointing.
- Freeze-thaw cycles: Water in existing micro-cracks freezes in winter, expands, and widens the crack. Ontario winters accelerate this process significantly.
- Settlement: Minor building settlement can create diagonal or stair-step crack patterns in mortar. These usually appear gradually and stabilize over time.
- Incompatible mortar from previous repairs: Using a mortar that is harder than the brick forces any movement to be absorbed by the brick face rather than the joint, causing both mortar failure and spalling.
- Water damage and saturation: Chronic moisture exposure from inadequate drainage or failed flashing accelerates mortar breakdown regardless of age.
Reading the Type of Crack Before You Repair
Not all cracked mortar joints are the same situation. Before starting any repair, identify what you are working with:
- Hairline cracks in mortar only: Common in any masonry over 15 to 20 years old. Usually straightforward repointing.
- Wider cracks with recessed or crumbling mortar: Active deterioration. Needs proper cleaning and repointing before the next freeze season.
- Stair-step cracks following mortar joints diagonally: Can indicate differential settlement. Monitor for movement and have a masonry professional assess if they are widening.
- Horizontal cracks running across multiple joints: Can indicate lateral pressure on the wall, potentially from soil pressure or structural loading. This warrants professional structural assessment before any repair.
- Cracks running through bricks themselves: Structural in nature. Do not attempt DIY repair.
If you are unsure which category applies to your situation, an assessment from a qualified masonry contractor in Ontario is the safest next step.
How to Fix Cracked Mortar Joints: The Process
Step 1: Gather the Right Tools and Materials
You will need:
- Cold chisel or oscillating multi-tool with mortar removal blade
- Hammer
- Wire brush or compressed air for joint cleaning
- Pre-mixed or site-mixed mortar matched to the existing type
- Pointing trowel and joint raking tool
- Water for curing and cleaning
- Safety glasses and dust mask
Step 2: Remove the Deteriorated Mortar
Using a cold chisel and hammer or an oscillating tool, carefully cut out the damaged mortar to a minimum depth of 15mm to 20mm. This is critical. Shallow repairs do not bond properly and will fail quickly. Work carefully to avoid chipping the edges of the surrounding bricks.
According to the National Park Service, the most common cause of premature repointing failure is insufficient joint preparation depth.
Step 3: Clean the Joint
Once the old mortar is removed, brush out all debris, dust, and loose particles with a stiff wire brush or compressed air. A clean joint allows the new mortar to bond fully to the brick on both sides.
Step 4: Dampen the Joint
Lightly dampen the cleaned joint with water before applying new mortar. Dry brick surfaces draw moisture from the mortar too quickly, which compromises the cure and weakens the bond. Do not saturate, just lightly moisten.
Step 5: Match and Apply the Mortar
This is the step where most DIY repairs go wrong. Mortar must match the existing type in composition, not just colour. Using a harder Portland cement mortar on older lime-based masonry is a well-documented cause of future brick spalling.
For modern brick, a Type S or Type N mortar from a local building supply is generally appropriate. For pre-1950s or heritage brick, consult a masonry professional before mixing. Apply mortar in layers for deep joints, pressing firmly and allowing each layer to stiffen before applying the next.
Step 6: Tool the Joint
Once the mortar is thumb-print firm, use a jointing tool to profile the joint to match the surrounding profile. This seals the mortar-to-brick interface, sheds water effectively, and integrates the repair visually. Clean any excess mortar from brick faces with a damp cloth before it hardens.
Step 7: Cure and Protect
The new mortar needs time to cure properly. Keep the repaired area lightly misted with water for two to three days, especially in warm or dry weather, to prevent the mortar from drying too fast and cracking. Avoid working in freezing temperatures, as mortar will not cure below 4 degrees Celsius.
When to Stop and Call a Professional
DIY mortar repair is reasonable for a small number of cracked joints on modern, ground-level brick. Bring in a professional for:
- Any horizontal or stair-step cracking that may indicate movement
- Cracks running through bricks, not just mortar
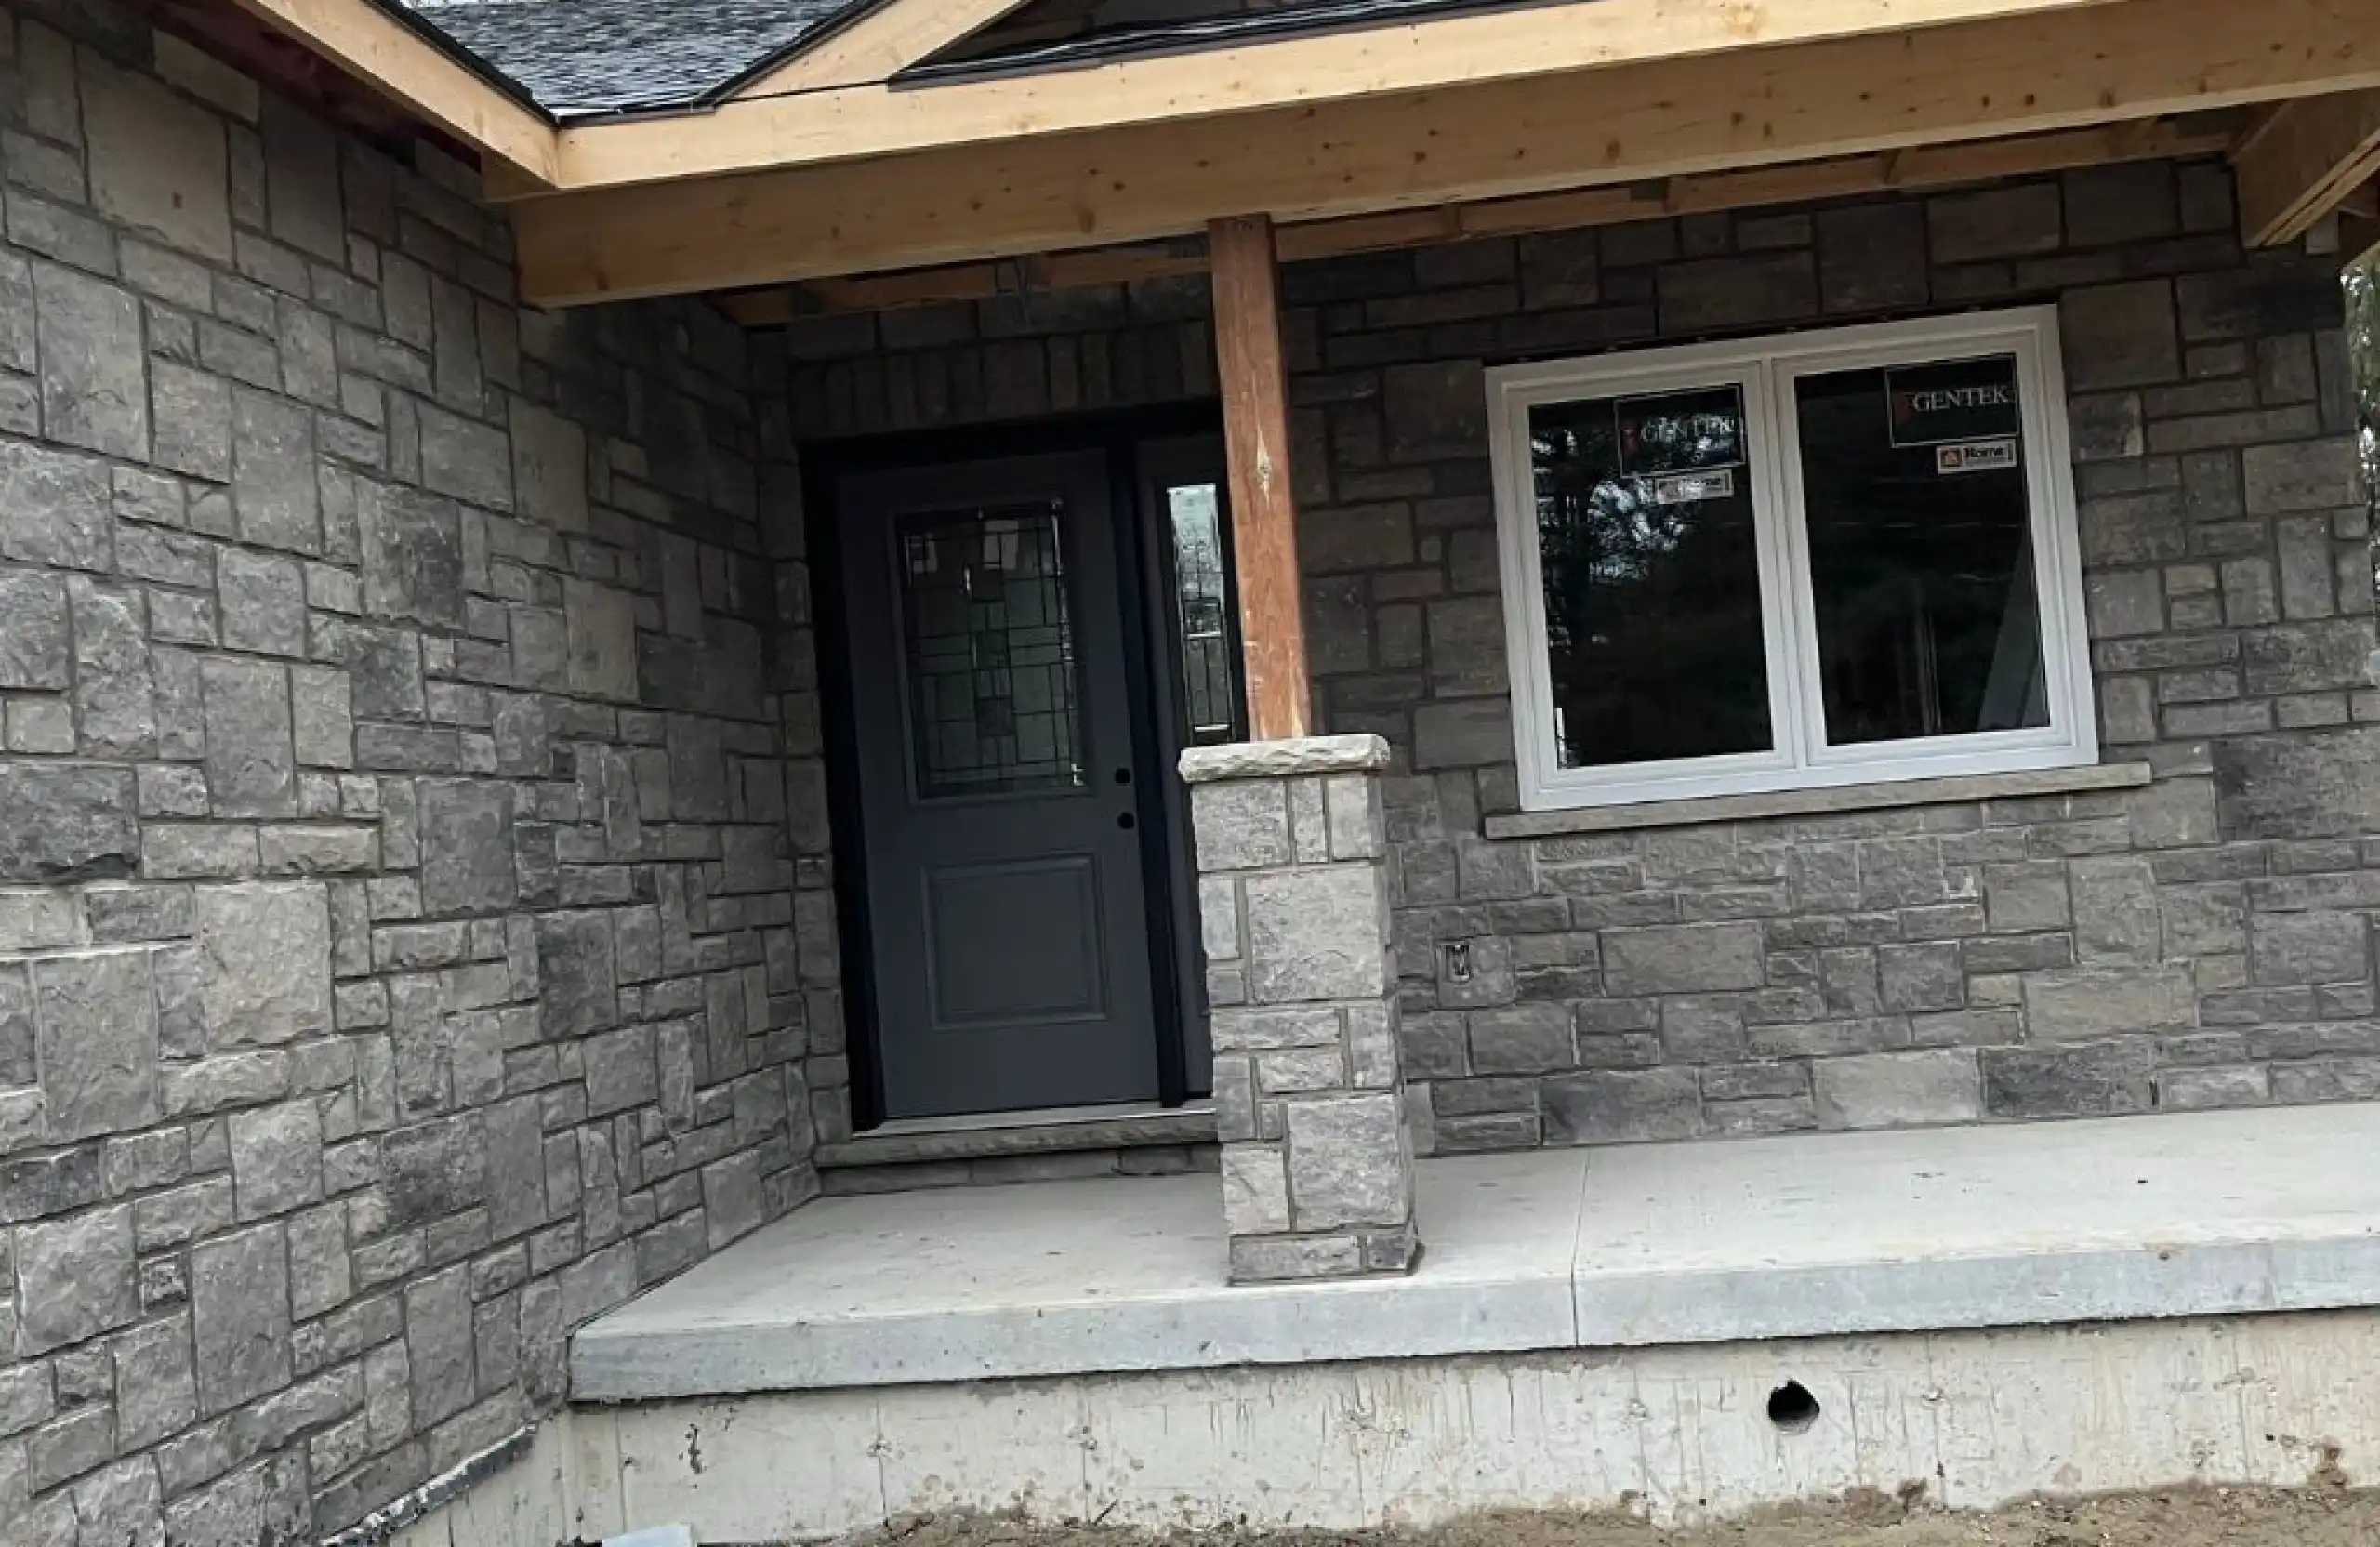
- Any work on a pre-1950s or heritage property where mortar matching is critical. Our stone restoration and reclamation services include heritage-appropriate mortar work.
- Chimney repointing above roofline height
- Any scope requiring scaffolding or aerial access. Stone Haven’s full-service general contracting team handles these safely and efficiently.
How Stone Haven Fixes Cracked Mortar Joints
Stone Haven Development has handled repointing and mortar repair on properties across Southwestern Ontario since 2018. Our team assesses the crack pattern, identifies the cause, determines the correct mortar composition, and completes the repair to a standard that lasts.
We match mortar to each project rather than defaulting to a single product. We clean up completely after every day of work. And we stand behind what we build. Contact our team today to arrange a masonry assessment across Stratford, Kitchener, Waterloo, Guelph, Hamilton, London, or anywhere in Southwestern Ontario.
View our completed repointing and restoration projects in the Stone Haven project gallery.
Frequently Asked Questions
1. How deep do I need to remove mortar before repointing?
A minimum depth of 15mm to 20mm is required for a durable repair. Shallower patches do not bond well and typically fail within one to two winters in Ontario conditions.
2. What mortar should I use to fix cracked mortar joints?
The mortar type must match the existing masonry. Modern brick typically uses Type S or Type N Portland cement mortar. Older or heritage brick may require a softer lime-based mortar. Using the wrong type is a common cause of premature repointing failure and brick spalling.
3. Can I repoint in cold weather?
Mortar should not be applied when temperatures are below 4 degrees Celsius or expected to drop below that within 24 hours of application. Cold weather prevents proper curing and significantly weakens the bond.
4. How long does repointing last?
Quality repointing work using the correct mortar should last 25 to 30 years under normal conditions. Ontario freeze-thaw cycles and chronic moisture exposure can shorten that if the root cause is not also addressed.
5. What is the difference between repointing and tuckpointing?
Repointing refers to the general process of renewing mortar joints. Tuckpointing traditionally involves a fine contrasting line applied over the new mortar to create a refined joint appearance. Both address the same structural goal.
Do Not Let the Next Winter Open Those Cracks Further
Cracked mortar joints are manageable when caught early. Left through another freeze season, the damage compounds. Reach out to Stone Haven Development for a professional masonry assessment and get the repair done right the first time.
Key Takeaways
- Cracked mortar joints act as direct pathways for water to enter a wall, where it freezes and expands during winter to cause significant masonry degradation.
- Identifying the specific crack pattern is essential, as hairline cracks are often standard maintenance while horizontal or stair-step cracks can signal serious structural movement.
- Durable repairs require removing old mortar to a minimum depth of 15mm to 20mm, as shallow patches lack the surface area to bond properly and will fail quickly.
- Matching the chemical composition of the original mortar is a critical step because using hard modern cement on soft heritage brick can lead to permanent cracking and spalling.
- New mortar joints must be kept lightly misted for several days to ensure they cure slowly and develop a strong bond, particularly in dry or warm weather conditions.