Learning how to waterproof a brick wall properly starts with surface preparation, mortar repair, and choosing the right sealer for your climate. For Ontario properties facing harsh freeze-thaw cycles, correct waterproofing prevents spalling, efflorescence, and structural deterioration. This guide covers each step from inspection to application and explains when professional masonry help is the better path.
Why Brick Walls Need Waterproofing in Ontario’s Climate
Brick is one of the most durable building materials available, but it is also porous. Every brick on your wall absorbs small amounts of water through its surface. In a mild, dry climate, this is rarely a problem. In Ontario, where winter temperatures drop well below freezing and stay there for weeks, that absorbed water becomes a serious threat.
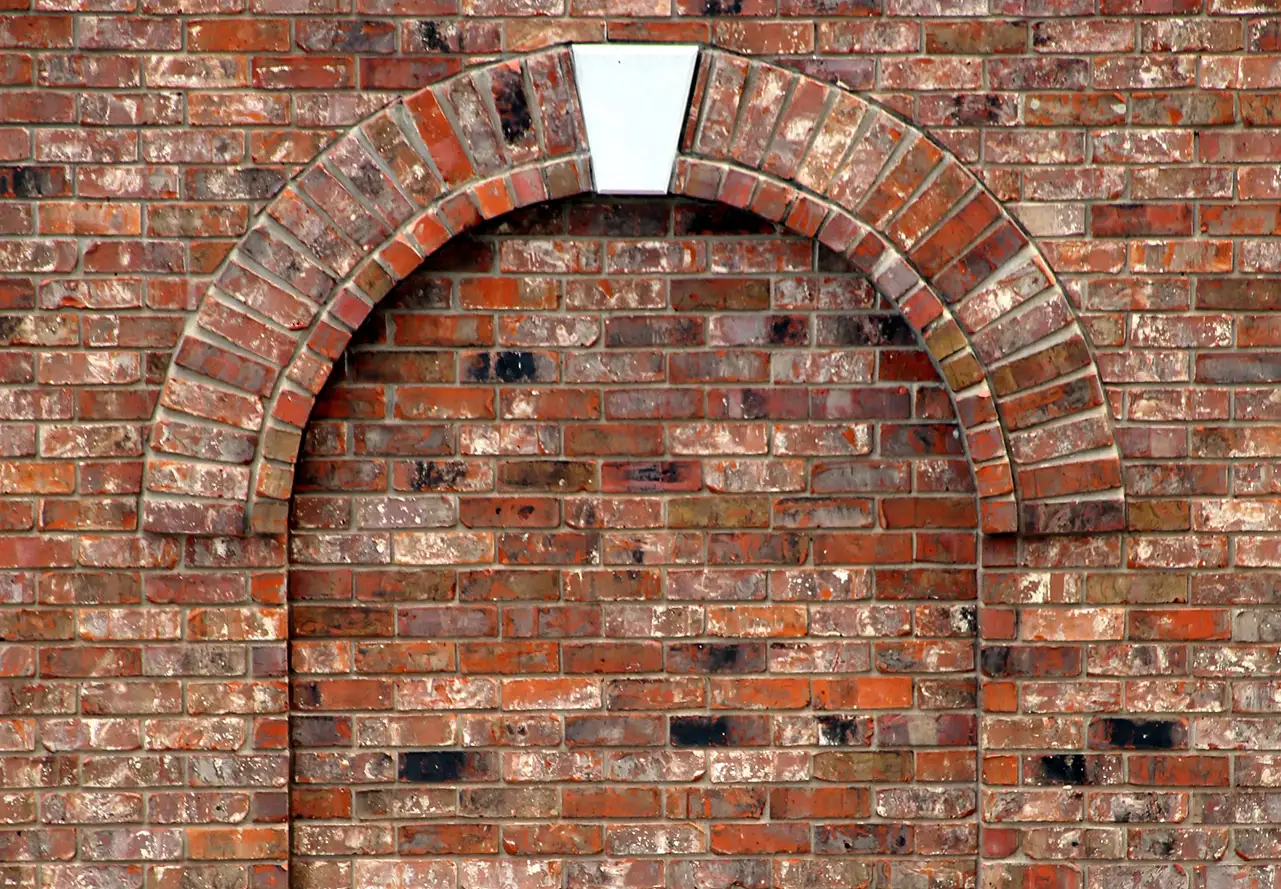
When water trapped inside a brick freezes, it expands. That expansion creates micro-fractures within the brick and mortar. After repeated freeze-thaw cycles, those micro-fractures grow into visible cracks, spalling (where the brick face peels away), and crumbling mortar joints. This is why knowing how to waterproof a brick wall correctly is one of the most cost-effective maintenance steps a property owner can take.
Untreated brick walls are also prone to efflorescence, the white powdery deposits that appear when dissolved salts are carried to the surface by migrating moisture. While efflorescence itself is not structurally harmful, it signals that water is actively moving through the wall. According to the Canada Mortgage and Housing Corporation, managing moisture in masonry walls is a key factor in maintaining building envelope performance in Canadian climates.
Start with a Thorough Inspection and Repair
Waterproofing a damaged wall is like painting over rust. The sealer cannot compensate for cracks, failed mortar, or bricks that have already started to deteriorate. Before any waterproofing product touches the wall, the surface needs to be in sound condition.
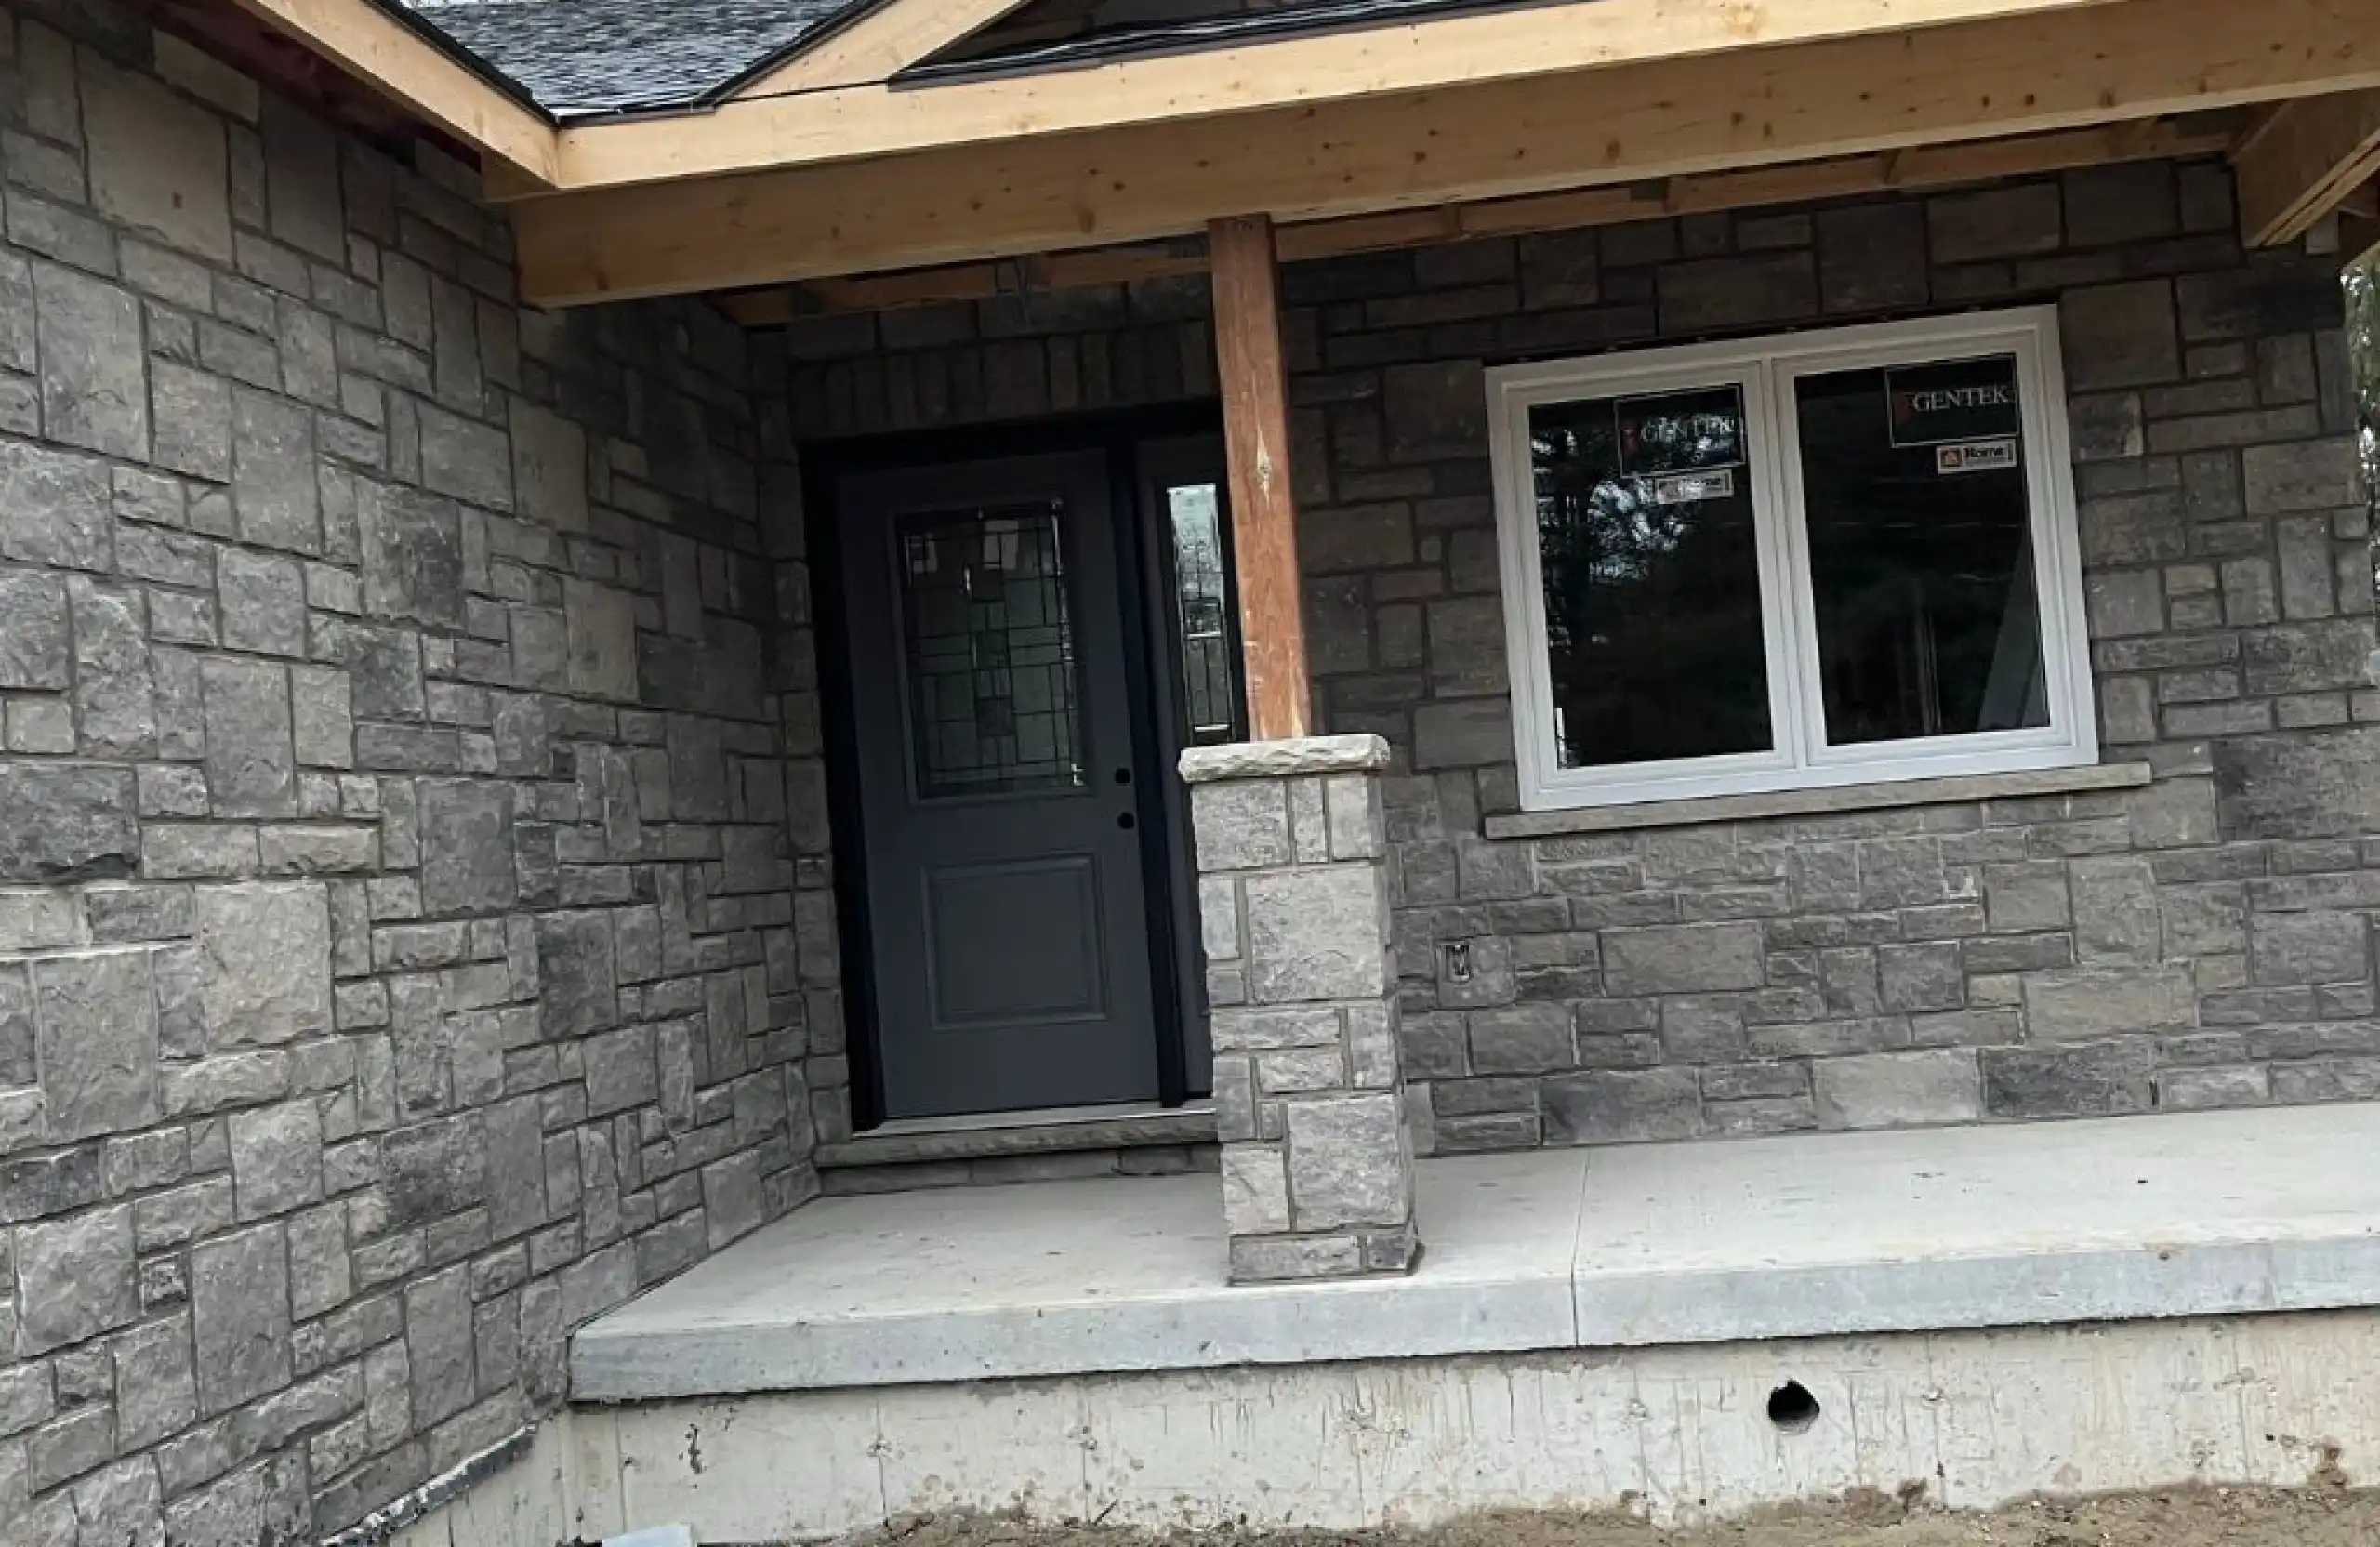
Walk the entire wall and look for cracked or crumbling mortar joints, spalled or chipped bricks, gaps around window and door frames, and any areas where previous patches have failed. Mortar joints that are recessed, sandy, or pulling away from the brick need repointing before sealing. Individual bricks that have lost their face should be replaced.
If you are seeing widespread mortar deterioration or structural cracking, this is the stage where professional brickwork and masonry services make the difference between a waterproofing job that holds and one that fails within a year. A qualified mason will assess whether the damage is surface-level or indicative of a deeper structural issue.
For walls showing signs of advanced deterioration across large sections, stone restoration and reclamation may be the right first step before waterproofing becomes relevant.
Preparing the Brick Surface for Waterproofing
Clean brick is the foundation of effective waterproofing. Dirt, algae, efflorescence, and old coating residue all interfere with sealer adhesion and penetration.
Start by removing loose debris with a stiff bristle brush. For heavier contamination, a mild masonry cleaner applied with a brush and rinsed thoroughly will handle most situations. Power washing is effective for large areas, but keeps the pressure moderate. Excessive pressure can damage mortar joints and drive water deeper into the wall, which defeats the purpose. The National Research Council of Canada has published guidelines on masonry cleaning that emphasize gentle, non-abrasive methods for heritage and older brickwork.
Once the wall is clean, allow it to dry completely. Most masonry sealers require a dry substrate to bond properly. In Ontario’s climate, plan for at least 48 to 72 hours of dry weather after cleaning before applying any waterproofing product. Applying sealer to damp brick traps moisture inside the wall, which can accelerate the very damage you are trying to prevent.
Choosing the Right Waterproofing Product for Brick
Not all masonry sealers work the same way, and choosing the wrong one can cause more problems than it solves. There are two broad categories to consider.
Penetrating sealers (silane, siloxane, or silicone-based) absorb into the brick and line the pores from within. They do not change the appearance of the wall and allow moisture vapour to escape, meaning the wall can still breathe. For most Ontario exterior brick walls, a breathable penetrating sealer is the recommended choice. These products typically last 5 to 15 years depending on the formulation, wall exposure, and climate severity.
Film-forming sealers create a surface coating on top of the brick. They can provide a wet-look or glossy finish, which some property owners prefer. However, film-forming products can trap moisture behind the coating on exterior walls. In a freeze-thaw climate like Ontario’s, trapped moisture is a recipe for accelerated spalling and coating failure. Film-forming sealers are better suited to interior brick or decorative applications where moisture migration is not a concern.
For commercial properties and larger buildings, the waterproofing strategy often includes additional drainage and flashing components that go beyond surface sealers. A commercial masonry contractor can design a waterproofing approach that accounts for the full wall assembly, not just the brick surface.
How to Apply a Brick Wall Waterproofing Sealer
With the wall inspected, repaired, cleaned, and dry, application is the straightforward part. Most penetrating sealers are applied by low-pressure sprayer, though brushes and rollers work for smaller areas.
Begin at the bottom of the wall and work upward, saturating the surface generously. The goal is to flood the brick rather than mist it. The sealer needs to penetrate into the pores, which requires enough material on the surface to soak in rather than evaporate. Many manufacturers recommend applying enough product to create a visible run-down of 8 to 12 inches.
Most products require one to two coats. If a second coat is needed, apply it while the first coat is still damp or within the manufacturer’s recommended recoat window. Once the sealer has fully cured (typically 24 to 48 hours), you can test it by spraying water on the surface. The water should bead up and roll off rather than absorbing into the brick.
Temperature matters during application. Most sealers perform best when applied in temperatures above 5 to 10 degrees Celsius. For Ontario properties, this means scheduling the work between late spring and early fall. The Ontario Building Code also addresses moisture management requirements for building envelopes that are relevant to larger commercial waterproofing projects.
When Professional Masonry Waterproofing Makes More Sense
For a small residential wall in good condition, a competent DIY approach with a quality penetrating sealer can work well. But several situations call for professional involvement.
Multi-storey walls require safe access equipment and even coverage that is difficult to achieve from a ladder. Properties with existing moisture problems behind the brick need investigation before sealing, because waterproofing the exterior without addressing the source can make interior issues worse. Older buildings with lime-based mortar require careful product selection to avoid trapping moisture that the original wall assembly was designed to handle.
If your chimney is part of the waterproofing scope, the added exposure and complexity of chimney masonry typically warrants professional attention. Chimneys face weather from all four sides and have unique details like crowns, flashing, and flue liners that need integrated waterproofing.
Stone Haven Developments provides masonry waterproofing as part of our broader approach to wall care across Southwestern Ontario. Whether you need spot repointing before sealing or a complete new construction wall system with integrated moisture protection, our team evaluates the full picture before recommending a path forward.
For property owners managing multiple buildings or larger commercial portfolios, our project management services coordinate waterproofing work alongside other exterior maintenance to minimize disruption and control costs.
Keep Water Out and Your Brick Walls Standing Strong
Understanding how to waterproof a brick wall is not complicated, but doing it correctly requires attention to each step. Inspect first, repair what needs fixing, clean the surface thoroughly, choose a breathable penetrating sealer appropriate for Ontario’s climate, and apply it during the right conditions. Skip any of those steps and the waterproofing will underperform.
For property owners who want the job done right the first time, or whose walls need repair work before waterproofing can begin, working with an experienced masonry team removes the guesswork. Stone Haven Developments brings over 17 years of hands-on masonry expertise to every project. We serve residential and commercial properties across Stratford, Kitchener, Waterloo, Cambridge, Guelph, and throughout Southwestern Ontario. Our construction consulting team can also advise on larger-scale waterproofing strategies for commercial and institutional buildings.
Frequently Asked Questions
1. How often should you waterproof a brick wall?
Most penetrating masonry sealers last 5 to 15 years depending on the product, wall exposure, and climate. In Ontario, where freeze-thaw cycles are severe, checking the wall every 5 years and reapplying as needed is a good practice. You can test the sealer by spraying water on the surface. If it still beads up, the sealer is still performing.
2. Can you waterproof old brick without damaging it?
Yes, as long as you use a breathable penetrating sealer rather than a film-forming product. Older bricks, especially those laid with lime mortar, need to release moisture vapour. A silane or siloxane sealer protects against liquid water while allowing the wall to breathe. Always repair deteriorated mortar and damaged bricks before applying any sealer.
3. Does waterproofing brick change its appearance?
Penetrating sealers are virtually invisible once cured. They do not add a sheen or change the brick’s colour. Film-forming sealers can add a glossy or wet-look finish, but these are not recommended for exterior walls in freeze-thaw climates because they can trap moisture inside the brick.
4. Is waterproofing brick worth the cost?
Absolutely. Waterproofing is a fraction of the cost of repairing spalling bricks, repointing failed mortar joints, or addressing interior water damage caused by moisture migrating through unprotected walls. In Ontario, where winter conditions are harsh on masonry, waterproofing pays for itself by extending the life of the brickwork.
5. Can I waterproof brick from the inside?
Interior waterproofing treatments exist (cementitious coatings and water-repellent paints), but they address symptoms rather than the source. The most effective approach is to waterproof the exterior face of the wall where water first contacts the brick. Interior treatments should be considered a secondary measure, not a replacement for exterior protection.
6. What is the best temperature for applying masonry sealer?
Most manufacturers recommend applying penetrating sealers when both the air and surface temperatures are above 5 to 10 degrees Celsius. In Ontario, this means scheduling application between May and October. The wall should also be dry for at least 48 to 72 hours before application for proper sealer absorption.
Get Professional Waterproofing Advice for Your Property
Not sure whether your brick walls need repair before waterproofing, or want a professional assessment of your building’s moisture exposure? Contact Stone Haven Developments for a consultation. We will inspect your walls, identify any issues that need attention first, and recommend the right waterproofing approach for your property. Serving Stratford, Kitchener, Waterloo, Guelph, Cambridge, and all of Southwestern Ontario.
Key Takeaways
- Brick is porous and absorbs water. In Ontario’s freeze-thaw climate, unprotected brick walls are vulnerable to spalling, mortar failure, and efflorescence.
- Always inspect and repair mortar joints and damaged bricks before applying any waterproofing product.
- Clean the wall thoroughly and allow it to dry completely (48 to 72 hours minimum) before sealer application.
- Use a breathable penetrating sealer (silane or siloxane) for exterior walls. Avoid film-forming products in freeze-thaw climates.
- Apply sealer generously by low-pressure sprayer, working from bottom to top, during temperatures above 5 to 10 degrees Celsius.
- Multi-storey walls, older buildings with lime mortar, and properties with existing moisture problems should involve a professional masonry contractor.
- Waterproofing is a fraction of the cost of repairing the damage that unprotected brick sustains over even a few Ontario winters.